phuongle19
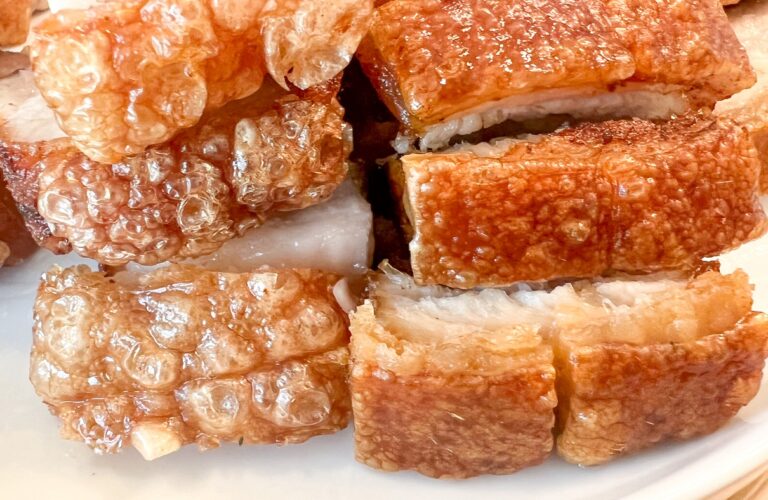
I conducted a Crispy Pork Belly Experiment to compare air-fried pork belly with deep-fried pork belly! Both turned out great.
They both required overnight treatment with a little salt to dry out the skin. I then baked both of them in the oven at 250F for 3 hours to further dehydrate the skin. And then this is where they differ. I deep-fried, well, it’s more like shallow frying, one of them, and then air-fried the other.
Typically I would poke holes in the skin to help it produce bubbles to create a crispy texture, but I wanted to see how they would turn out without that step. Both turned out fantastic! The deep-fried one produced huge bubbles in the skin, and it tasted similar to chicharrones. The air-fried one was not rubbery or chewy at all! Even though it wasn’t as bubbly and airy as the deep-fried one, the skin was still perfectly crunchy.
I’ve conducted many pork belly experiments: instant pot, boiling, salt crust, poking holes, etc. Both of these are my favorite so far.
When picking out your pork belly, try to get one with a good amount of meat and one that is even in height throughout, so it will cook evenly. I didn’t do a great job of picking the second one. Hah!
Below you’ll see what the pork belly looks like before dehydrating the skin. I scored the skin to make it easier to cut after being cooked.
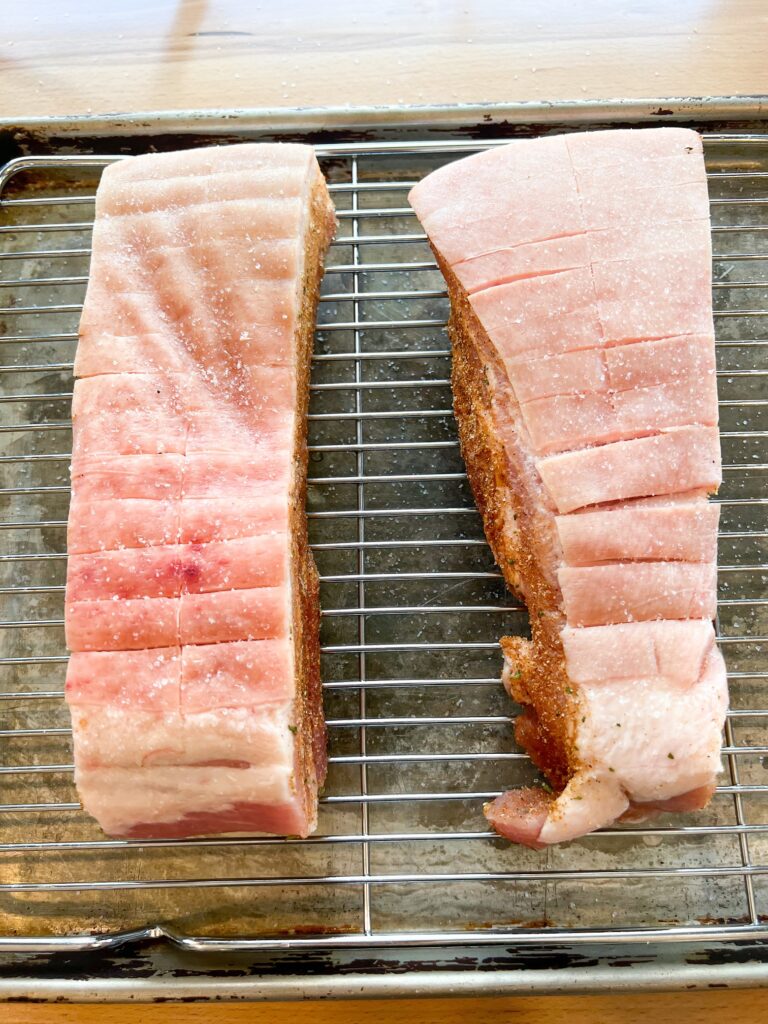
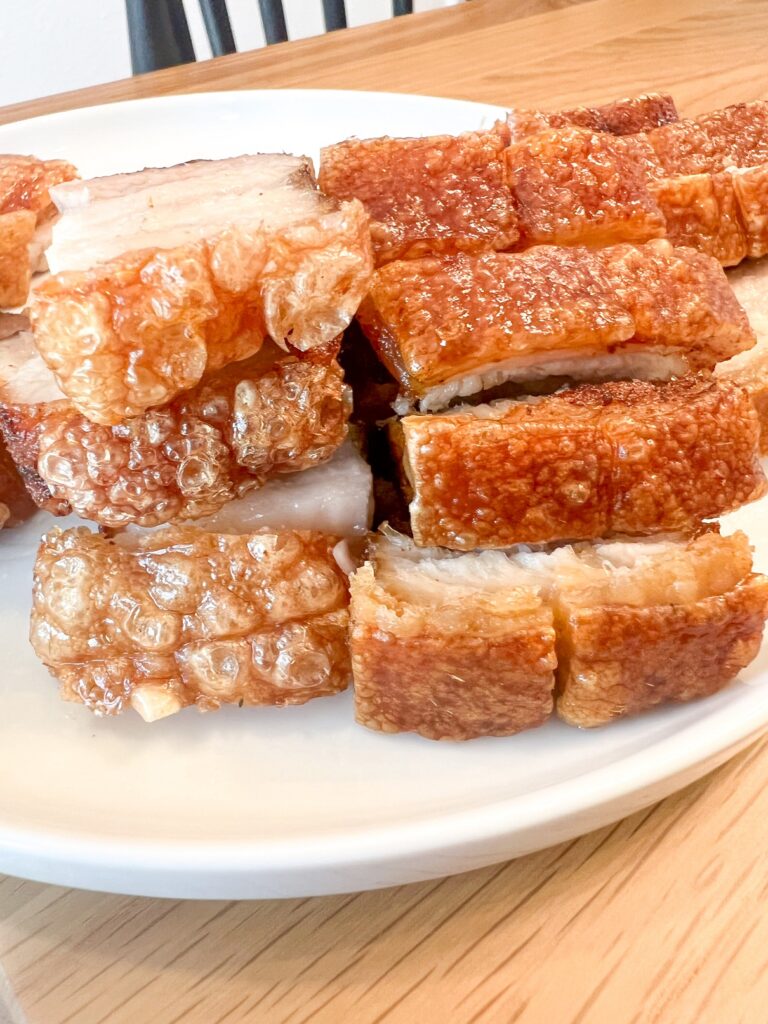
Below you’ll see a photo of both versions. The left side has been fried while the right side has been air-fried.


Crispy Pork Belly Experiment
Description
Crispy pork belly or heo quay required overnight dehydration and a 3-hour roasting time. It can be air-fried or deep-fried.
Ingredients
Instructions
- For the seasoning, combine garlic salt and five spice powder in a small bowl. If you don’t have Lawry’s garlic salt, you can mix together salt, garlic powder, and a little bit of sugar.
- Wipe the skin dry with a paper towel. Optional: Score the pork skin in order to make it easier to cut so the skin stays beautiful & intact (watch video). You want it deep enough to cut through all of the skin.
- Season the bottom and sides of the pork being careful not to get it on the skin. Wipe off any seasoning that gets on the skin, so it doesn’t burn when you cook it.
- Leave the pork skin side up and uncovered in the fridge for 12+ hours to dry the skin.
- Pre-heat oven to 250F
- Bake on middle rack for 3 hours to dehydrate the skin.
- Place pork skin side down into a cold pan with oil filled 1/4 of the way or enough oil to touch the skin. Do not overfill!
- Turn the heat onto medium heat and watch carefully as the skin starts to bubble up around the edges. You can place a heavy pan on top of the pork to weigh it down or move the pork around to ensure the edges get crispy. This process will range from 10-15 minutes.
- Transfer the pork to a plate and let it rest for a few minutes before slicing into it.
- Preheat the air fryer to 390F. If you don’t have a pre-heat function, turn it on to 390F for about 8 minutes.
- Optional: If you like the skin to bubble up, poke lots of little holes into the skin using a sharp fork, knife, or with this tool! That’s the one I have. If you don’t poke holes, it will still come out very crispy!! It’s not chewy or rubbery at all!
- Air fry the pork skin side up for 10-12 minutes until crispy!