Air-Fried Hot Honey Butter Chicken Sandwich is the most delicious chicken sandwich I have ever had in my entire life! When I posted my viral hot honey butter wings, so many people asked if I could air fry the chicken, so I decided to air fry boneless thighs and turn them into sandwiches! Click here for the air-fryer that I used for this recipe.
PLEASE READ the following tips to ensure the best possible turnout!
- After you dip them into the wet batter and panko breadcrumbs, let the meat sit for 10 minutes before cooking them. This will help the coating stay on when cooking.
- If using skin-on thighs or wings, pat the skin dry, and coat the skin surface with a little flour or starch before dipping it into the wet batter. This will also help the coating stay on.
- I recommend using thighs because they are fattier and are more forgiving for air-frying, but if you use breasts, I definitely recommend brining them for a few hours or else they will dry out in the air-fryer!
- Different size thighs will finish at different times, so be sure to check the internal temperature with a thermometer.
More chicken recipes:
Air-fried Vietnamese wings– you’ll never believe they were air-fried!
Air-fried sesame chicken – It’s better than takeout!
Air-Fried Five Spice chicken – the crispiest air-fried thighs with delicious spices
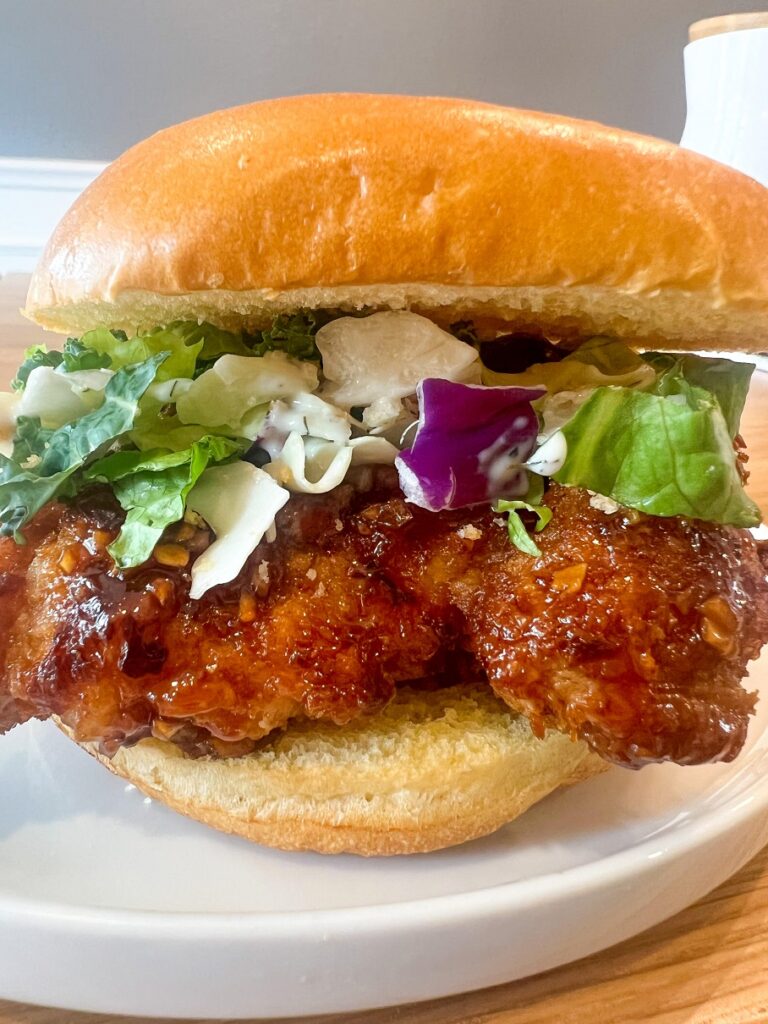
Air-Fried Hot Honey Butter Chicken Sandwich
Description
Air-Fried Hot Honey Butter Chicken Sandwich is the most delicious chicken sandwich I have ever had in my entire life! When I posted my viral hot honey butter wings, so many people asked if I could air fry the chicken, so I decided to air fry boneless thighs and turn them into sandwiches!
Ingredients
Seasoning
Batter
Sauce
Serve with
Instructions
- Season the thighs with garlic salt, cayenne, and black pepper while you prepare the other ingredients.
- Mix together ingredients for the sauce except for the water, butter, and garlic.
- Mix together rice flour, corn starch, and water. You can start off with equal amounts of everything and adjust from there. I had to add a tiny bit more water to get the right consistency. It shouldn’t be so thick that it’s hard to mix. It should be thinner than pancake batter, but it should easily stick to your thighs. See video for reference.
- Pour panko in a separate plate/bowl and set aside.
- Right before dipping the thighs, give it another mix to get the starch that settled on the bottom. Dip the thighs into the wet batter, shake off excess, then dip into panko, and coat both sides. Set aside on a plate and repeat. Let it sit for a few minutes to ensure the coating stays on while cooking.
- Spray both sides of the chicken with oil and air-fry them for 15 minutes at 350F. Flip the chicken over. Air-fry for 5 minutes at 350F. Remove the basket and let the chicken rest for 5-10 minutes before air-frying them one more time. This helps the chicken stay moist while we work on crisping up the outside.
- Before the second fry, make the sauce. Heat saucepan on medium heat and melt butter. Once the butter has melted, add garlic cook for 1 minute to release the flavor. Add the sauce and give it a mix. Cook and stir for a couple of minutes until the sauce is syrupy enough to coat the wings. Turn off the heat. If sauce gets too thick, add 1 tsp of water at a time to loosen it. Keep an eye on the sauce as it can thicken and burn easily.
- Air-fry one last time at 400F for about 5 minutes or until the chicken is crispy! Please check the internal temperature with a thermometer to make sure it’s 160-165F. Different sizes will need different cooking times.
- Toast the buns and prepare the veggies or pickle salad!
- Coat the chicken in the sauce. I find it easier to brush on the sauce since there are so many crevices to get into! Put together your sandwich, and enjoy!
- Comment on this blog post to share how much you enjoyed it. Share a photo to your Instagram stories and tag theasiantestkitchen. I would say just kidding, but I would love it if you do! 🙂
Video
Notes
- Please read the tips in the blog post before cooking!

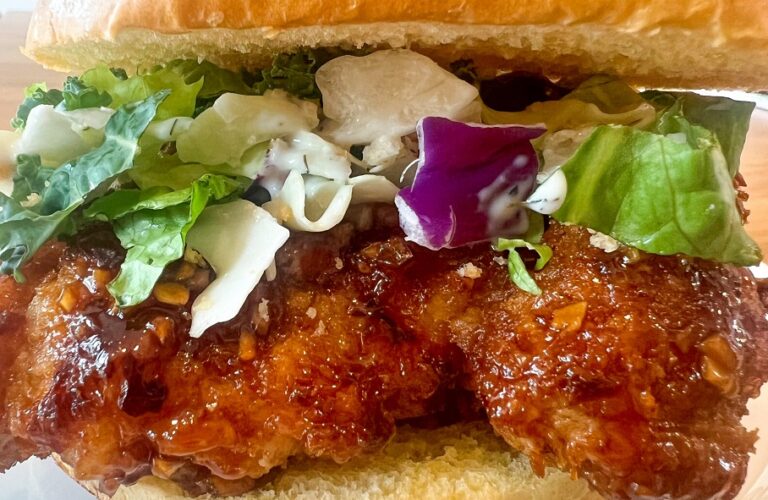

Do you recommend marinating the thighs in buttermilk overnight or not necessary?
You can if you want more flavor/moisture, but thighs are very forgiving, so you don’t have to if you don’t want to!
OK, I am generally skeptical of food blog recipes. This sounded like it was pretty well thought out, so we gave it a try. Easily the best thing I’ve ever made in my air fryer. Bravo!!!